IMAP vs POP3 - How to Email in the 21st Century

POP is bad. IMAP is good.

Thunderbird Gmail

Add Your Gmail Account to Thunderbird Using IMAP

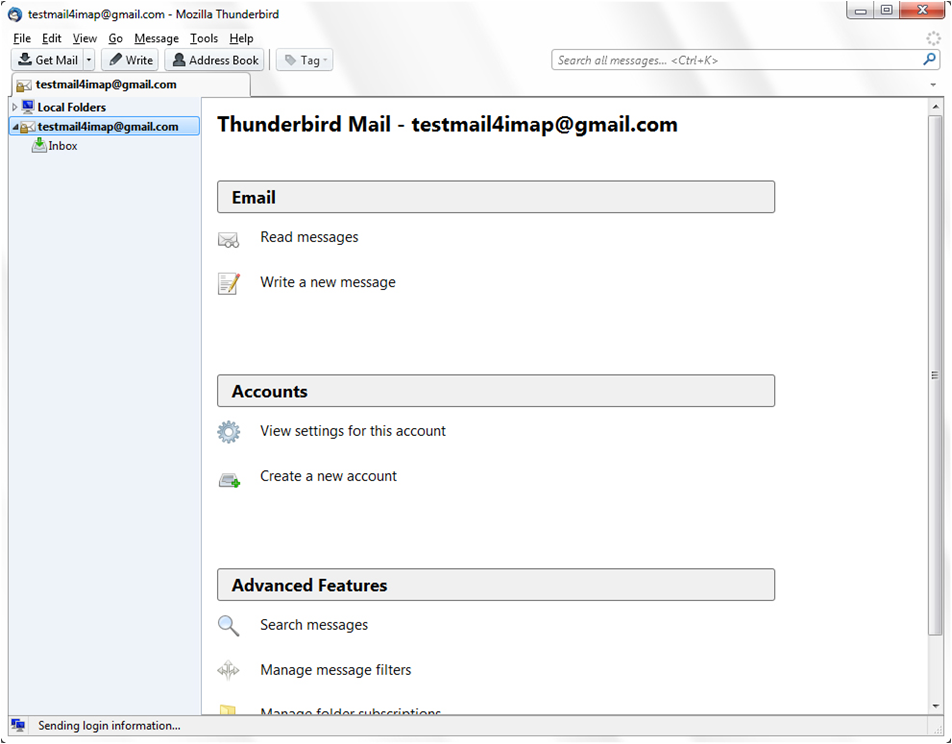
To set up your Thunderbird client to work with Gmail:

  • Enable IMAP in Gmail
  1. Sign in to Gmail.
  2. Click the gear icon in the upper-right and select Gmail settings at the top of any Gmail page.
  3. Click Forwarding and POP/IMAP
  4. Select Enable IMAP.
  5. Configure your IMAP client and click Save Changes.

gmail thunderbird image1
  • Open Thunderbird and type your name, Email address and password
  • Click Continue

gmail thunderbird image2
  • Tick the check box on IMAP(remote folders) and click on Manual config

gmail thunderbird image3

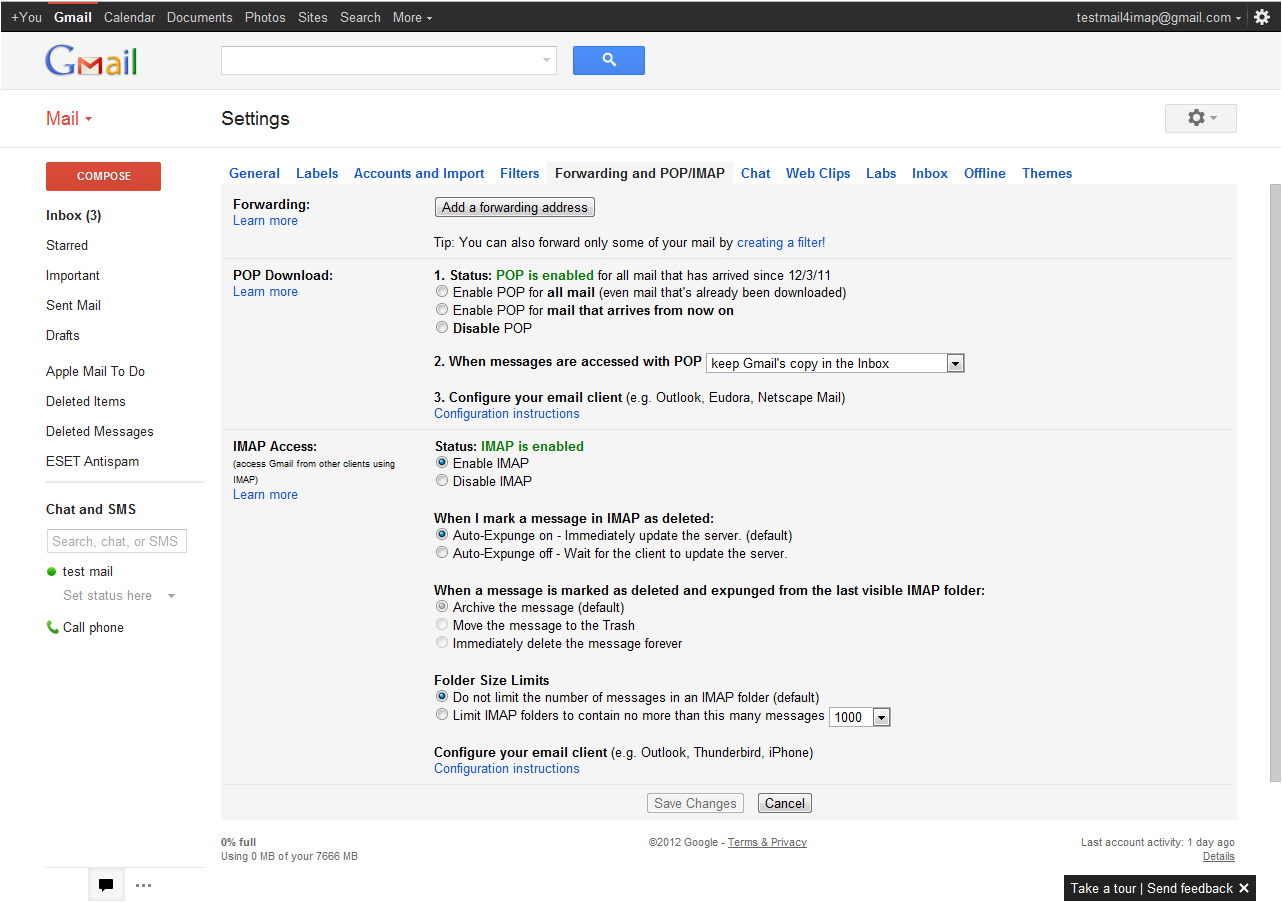
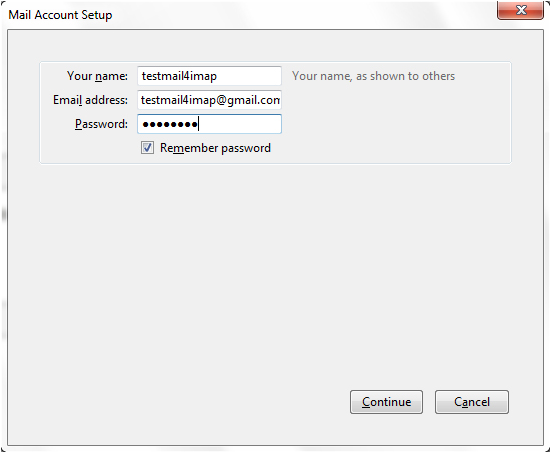
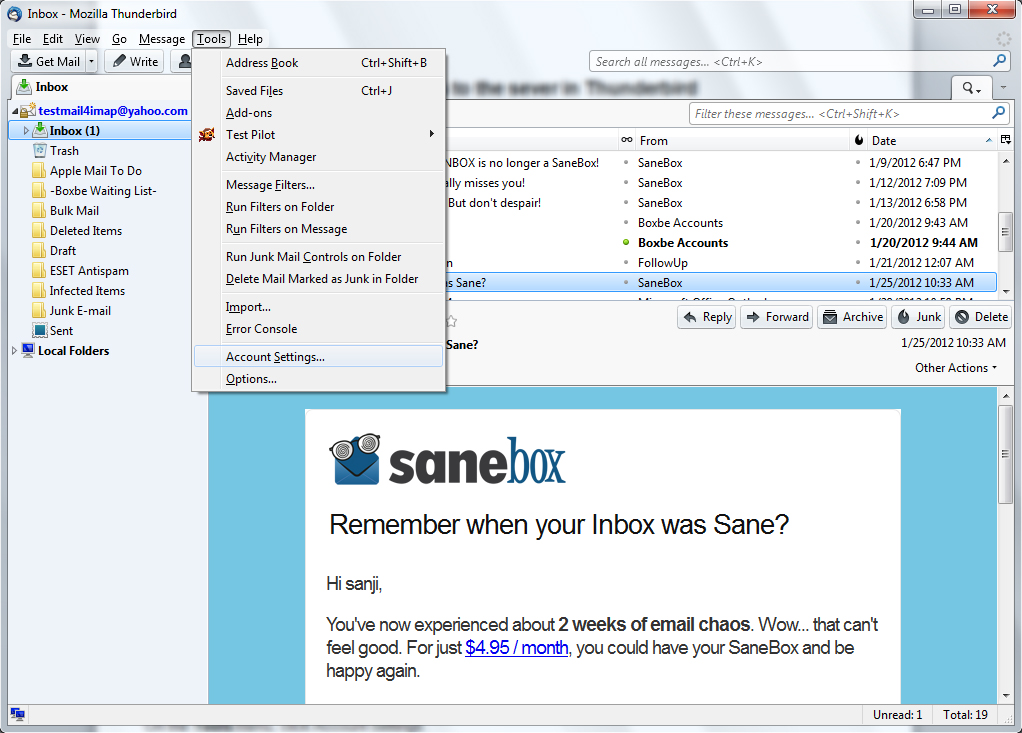
Now we need to manually enter in our settings similar to the following. Under the Server hostname section verify the following.

  • Incoming : imap.gmail.com / Port : Either 993 (ssl) or 143 (very infrequently 585 (ssl))
  • Outgoing : smtp.gmail.com / Port : Either 25 or 465 (ssl) (very infrequently 2525)
  • Click Re-test

gmail thunderbird image4
  • If you've entered everything in correctly, task will be completed successfully and you can click on Create Account

gmail thunderbird image5
  • Now you can check your gmail from Thunderbird clicking on Read messages

gmail thunderbird image6
gmail thunderbird image7

Setting up your Sent folder properly


  • Thunderbird > Tools > Account Settings > Copies & Folders: set Place a copy in to Sent Items on the mail server
  • other thunderbird image7
    other thunderbird image8
  • Restart Thunderbird.